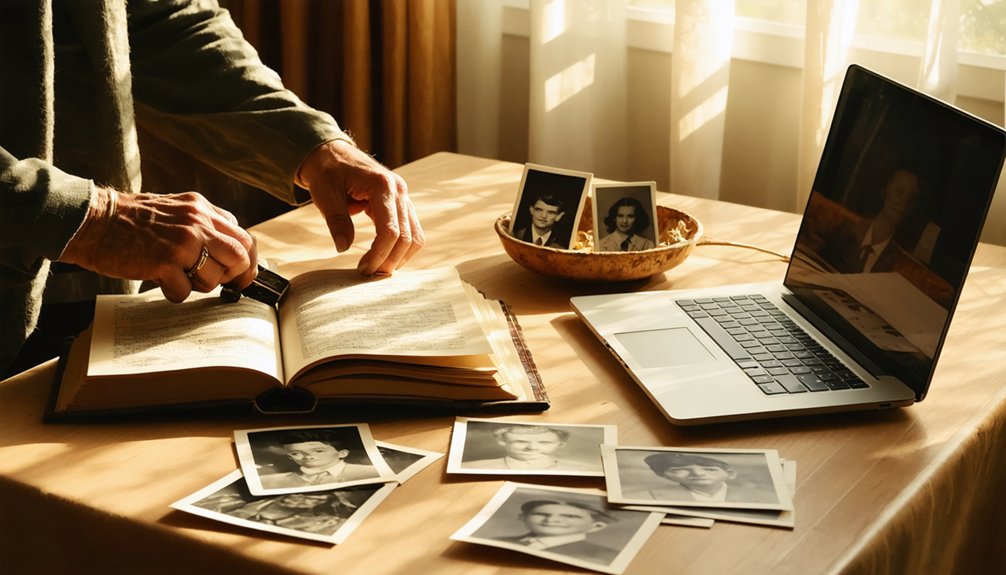

Your family’s photographs, letters, and church bulletins hold truths that no government record ever captured. To preserve them, start by inventorying every item, separating materials by type, and storing everything in cool, stable, low-humidity conditions away from attics and basements. Scan prints at high resolution, back up files using the 3-2-1 rule, and share digital copies through private platforms. Every step you take now protects history that exists nowhere else — and there’s much more to uncover ahead.
Key Takeaways
- Family photos, letters, and church bulletins preserve faith, joy, and resistance often missing from official or institutional records.
- Gather all materials into a central staging area, assign unique identifiers, and separate items by type before digitizing.
- Store collections in cool, dark interior spaces at 70°F or below with 30–50% relative humidity for stability.
- Scan prints at 600 DPI minimum, save masters as uncompressed TIFFs, and disable all automatic color corrections.
- Share digital copies via invitation-only platforms and consider donating to specialized institutions for wider, respectful historical access.
Why Black Family Archives Matter as Primary Sources
Within the walls of Black homes, ordinary objects carry extraordinary weight. That photograph, letter, or church bulletin isn’t sentimental clutter—it’s primary source evidence that institutional archives often lack or deliberately excluded.
Official records couldn’t capture your ancestor’s faith, resistance, or joy. They didn’t document the neighborhood businesses, fraternal lodges, or migration routes that shaped your family’s world. Courthouse fires, discriminatory recordkeeping, and systemic neglect erased what governments once held.
Your family archives fill those silences. They supply names, relationships, and truths that census records and segregated institutions couldn’t or wouldn’t preserve. They challenge deficit narratives by presenting Black life in its full complexity—achievement, creativity, stability, and community.
When you protect these materials, you’re not just honoring your lineage. You’re fortifying the historical record itself. Dedicated institutions like the Moorland-Spingarn Research Center at Howard University exist specifically to respect and properly manage collections that document African American life and contributions.
Take Inventory of Your Black Family Archive Before You Start
Before you rehouse a single photograph or digitize one document, take stock of what you actually have.
Walk through every room and gather boxes, albums, envelopes, framed items, and digital files connected to your family’s story.
Establish a central staging area, then record a basic count of containers and note where each was stored.
Assign every box, folder, and drive a unique number, and build a simple spreadsheet tracking container type, location, and date range.
Separate distinct groupings—funeral programs, church records, military papers, yearbooks—early.
Write cross-reference numbers in pencil on enclosures, never directly on fragile materials.
This inventory becomes your archive’s foundation, a living control document that reflects the full weight and breadth of what your family preserved. Before digitization begins, place loose documents and photographs into acid-free folders to protect them from further deterioration during handling.
Which Materials in Your Home Are Destroying Your Photos?
Hiding in plain sight across your home—in albums, frames, drawers, and storage boxes—are materials actively working against the photographs you’re trying to preserve. Acidic wood-pulp paper, cardboard boxes, and newsprint release acids that yellow and embrittle prints. PVC plastic sleeves, self-stick “magnetic” albums, and cheap plastic frames off-gas chemicals that stain and distort images within years. Rubber cement, masking tape, and pressure-sensitive office tape migrate damaging residues directly into emulsions. Rubber bands leach sulfur compounds and adhere to surfaces as they deteriorate. Even metal paper clips and staples scratch emulsions and rust onto prints in humid conditions.
Recognizing these threats isn’t alarmist—it’s foundational. Protecting your family’s visual record begins with removing the very materials you’ve trusted to hold it together. Fumes from household cleaning products and fresh paint can also cause lasting damage to photographs over time, so avoid storing images in spaces where air pollutants are present.
Store Your Black Family Photos and Documents in the Right Conditions
Once you’ve cleared out the harmful materials threatening your photos, where you store them matters just as much as what you store them in. Keep temperatures at or below 70°F with relative humidity between 30–50%. Stability is critical—humidity swings greater than 5–10% within a single day accelerate deterioration fast.
Choose cool, dark, interior closets or rooms over attics, basements, and garages, which fluctuate wildly in temperature and moisture. Stay away from exterior walls, uninsulated ceilings, and plumbing lines. Store containers off the floor to guard against dust and water intrusion.
Black-and-white prints do best between 64–70°F with humidity closer to 20–40%. For a mixed photographic collection, the optimum relative humidity sits at 30–40%, combined with low temperatures for the best long-term preservation results. Your family’s visual legacy deserves conditions that honor its permanence—protect it like the irreplaceable historical record it is.
How to Handle Old Prints, Mounts, and Albums Without Tearing or Staining Them
Every time you pick up an old print, you risk leaving behind oils, abrasions, or permanent creases that no restoration effort can fully undo. Wear clean cotton or nitrile gloves, handle prints only by their edges, and support them with both hands or a rigid board. Never slide stacked prints against each other.
When turning album pages, hold only the outer margins and move slowly, keeping mounted photographs as flat as possible. Don’t force open rolled or tightly closed albums — sudden flattening cracks fragile mounts.
Keep your workspace clean, dry, and clear of food, drinks, and jewelry. Never use tape, rubber bands, or paper clips on photographs. When labeling is necessary, use soft graphite pencil on the back. These practices protect what can’t be replaced. Fingerprints can cause permanent stains on all photograph types, making gloves essential even when handling prints that appear sturdy or modern.
Rescue Deteriorating Albums Before They Do More Harm
Careful handling protects what’s already stable — but if an album itself is deteriorating, it becomes an active threat to everything inside it. Self-stick magnetic pages, PVC plastics, and yellowed adhesives actively destroy emulsions. Mold spreads. Rust transfers. Every day you wait, more is lost.
Start by triaging. Quarantine anything with visible mold or chemical odors immediately. Flag high-risk materials and prioritize historically significant images — family milestones, church life, community organizing — for earliest rescue.
Before touching anything, photograph every page spread and capture metadata: names, dates, locations, events. Engage elders while the album still holds context.
Then remove prints carefully using dental floss, micro spatulas, or low heat. When photos are fused, digitize the whole page. Your ancestors’ story deserves that precision. Once removed, organize prints by page number using index card dividers to keep each group sequential and traceable back to its original placement in the album.
How to Scan Black Family Photos at Home With the Right Settings
Scanning Black family photographs well means making deliberate choices before the scanner lid closes. Set standard 4×6 to 8×10 prints to 600 DPI; push small wallet photos to 1200 DPI or higher. Faded or damaged prints deserve your scanner’s maximum true optical resolution—often 2400 DPI—to recover every detail.
Scan everything in 24-bit RGB color, even black-and-white prints. Color mode preserves paper tint, aging, and the subtle tonal shifts that define how Black skin, fabric, and backgrounds reproduce during restoration. Save masters as uncompressed TIFF files with an embedded sRGB profile, then generate JPEG copies for sharing.
Disable all automatic corrections. Auto color, auto exposure, and auto sharpening introduce unpredictable shifts you can’t undo. Own every adjustment deliberately. Before scanning, wipe the glass surface with a microfiber cloth to prevent dust and debris from appearing in your digital masters.
Build a File Naming and Folder System That Lasts Decades
A photograph survives the scanner and then disappears into a folder called “Misc”—that’s where family history goes quiet. Don’t let that happen.
Name every file with a consistent structure: surname, first name, ISO date, location. Use only letters, numbers, underscores, and hyphens—no spaces, no special characters. Keep filenames under 30 characters. Lead with the date in YYYYMMDD format so files sort chronologically across any system, any decade.
Build your folders by record type—Photos, Audio, Documents—then by year or era, then event. Include “_master” and “_access” subfolders to separate preservation copies from everyday viewing files.
When you edit or restore an image, append “_v01” or “_v02.”
These aren’t bureaucratic details. They’re the infrastructure that keeps your people findable. Use “FINAL” only as a substitute for the version number, never alongside it, so the record of how something evolved stays clean and unambiguous.
Describe Every Photo in Your Black Family Archive With Who, What, Where, and When
Every photograph in your archive is a document—and like any document, it becomes usable only when it’s described. Capture the full names of every person pictured, noting order of appearance and relationships. Record the event type, objects present, and organizational context—whether it’s a church choir, union meeting, or family reunion.
Document the location precisely: city, county, street address, or setting type. When you’re uncertain, say so explicitly rather than leaving fields blank. Pin down dates using exact records or “circa” estimates cross-referenced against letters, obituaries, or church programs.
Note your source for every identity claim. This metadata transforms a fading photograph into recoverable evidence—proof of lives fully lived, communities deliberately built, and a history that belongs entirely to you. To deepen your descriptions, apply interpretation techniques by noting what the photographer’s framing and subject choices reveal about the image’s purpose and intended message.
Back Up Your Black Family Archive in Multiple Places
Protecting your digitized Black family archive means building redundancy into every layer of your storage plan. Follow the 3-2-1 rule: maintain three copies of every file, stored across two different media types, with one copy kept offsite.
Your typical setup includes a working copy on your main computer, a second copy on an external hard drive or SSD, and a third copy continuously backed up to the cloud.
Choose your offsite location deliberately — a reputable cloud service, a safety deposit box, or a trusted relative’s home in another city. Automate your backups using tools like Backblaze or GratisFileSync, and schedule monthly full-archive backups. Periodically test your restores to confirm your copies are actually usable.
When damage or failure strikes one copy, use your remaining copies to restore it immediately so you always maintain the full three-copy requirement. Replace damaged copies as soon as possible to avoid leaving your archive exposed with insufficient redundancy.
Redundancy isn’t caution — it’s sovereignty over your family’s story.
Share Digital Copies Across Your Family to Identify People and Places
Once you’ve built your backup system, put those digital copies to work by circulating them among family members who can help name faces, identify locations, and fill in missing dates. Choose private, invitation-only platforms like FamilyAlbum, Google Photos shared albums, or encrypted apps like Signal to keep images within trusted circles. Use collaborative tagging tools to attach names, decades, cities, and event types directly to each image, building searchable metadata that serves future generations.
Organize albums by decade, family branch, and key locations—historically Black neighborhoods, churches, community gatherings. Host virtual review sessions via screen-sharing so relatives across cities can identify photos together in real time. Before circulating anything, strip EXIF metadata to protect home addresses and personal location data from unintended exposure.
When selecting a platform for sharing these irreplaceable images, be aware that AI training without consent is a documented practice on many mainstream services, meaning your family’s historic photos could be used to train facial recognition models without meaningful permission.
How Community Programs Can Strengthen Your Home Archive
Beyond your own four walls, a growing network of community programs can meaningfully extend what you’re able to accomplish alone. Museums, libraries, universities, congregations, and grassroots organizations offer real resources—digitization equipment, archival training, and preservation expertise—that most households can’t access independently.
NMAAHC’s Community Curation events digitize home movies, photographs, and audio tapes on-site. West Philadelphia’s Preserving Family Histories initiative provides high-quality scanning for documents and memorabilia. Organizations like ASALH and the Black Memory Lab build the archival confidence and hands-on skills you need to sustain your collection long-term.
These partnerships don’t replace your work—they amplify it. When you connect your home archive to broader community infrastructure, you’re ensuring that your family’s history becomes part of an enduring, accessible record. Johns Hopkins University’s partnership program works directly with historic African American communities in Baltimore to provide collections-related assistance to Black cultural and faith-based institutions, helping those organizations preserve rare historical assets that might otherwise be lost.
References
- https://www.youtube.com/watch?v=d3lT8ODAAh4
- https://successfulblackparenting.com/2026/04/09/preserving-family-history/
- https://archivinglifemedia.com/how-to-digitize-old-family-photos-without-losing-quality/
- https://venturamuseum.org/wp-content/uploads/2020/03/Digitizing-Family-Photographs.pdf
- https://www.consumerreports.org/electronics-computers/how-to-preserve-family-photos-and-videos-a2002432879/
- https://genealogydoover.s3.amazonaws.com/Step+7+Genealogy+Do-Over.pdf
- https://navalunderseamuseum.org/digitizing-photographs/
- https://www.reddit.com/r/Genealogy/comments/12u9ou2/best_way_to_digitize_photos_docs_etc/
- https://www.archives.gov/publications/prologue/2015/fall/handling-photos.html
- https://houstonarchivists.org/wp-content/uploads/2024/03/2023_AHA_FamilyPhotosPreservation.pdf